How Technology Helps Kids With Hearing Loss Thrive In School
Children learn through conversations, classroom discussions, reading activities, and social interaction. For kids with hearing loss, these experiences can become more challenging without the right support. Fortunately, advances in hearing technology and educational tools help many children participate more fully in school and everyday life.
Hearing Devices Support Daily Learning
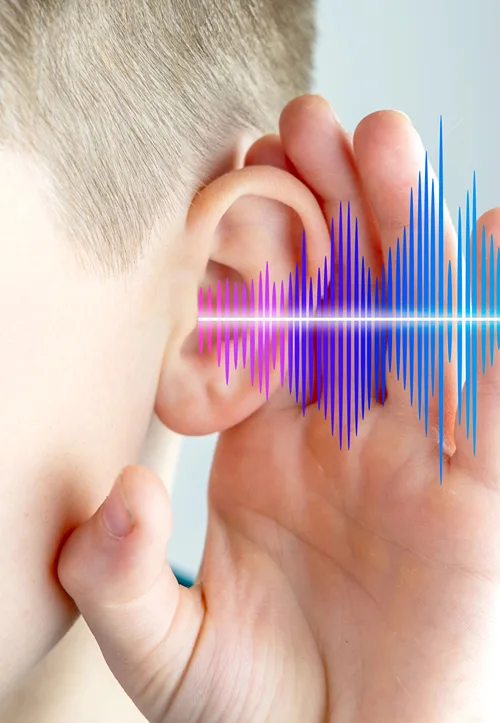
Hearing aids remain one of the most common tools used by children with hearing loss. These devices amplify sounds and speech, helping children hear classroom instruction more clearly. Modern hearing aids are smaller, more comfortable, and more adaptable to different listening environments than earlier generations.
Some children with more significant hearing loss may benefit from cochlear implants. These devices work differently from hearing aids and may help certain children access sound more effectively. Pediatric hearing specialists determine which options best fit each child’s individual needs.
Classroom Audio Systems Improve Speech Clarity
Classrooms can be noisy places. Students often compete with background sounds from classmates, hallway traffic, air conditioning systems, and classroom equipment. Even children with hearing devices may find it difficult to hear teachers clearly in these situations.
Remote microphone systems help address this challenge. Teachers wear a microphone, and the child’s hearing device receives the speaker’s voice directly. This reduces the impact of background noise and distance. Clearer speech signals may help children follow lessons more easily throughout the school day.
Captioning and Visual Tools Provide Extra Support
Many schools use technology that provides information in both audio and visual formats. Closed captions on videos help students follow educational content more accurately. Interactive whiteboards, digital presentations, and visual learning tools also support classroom instruction.
Written directions and visual schedules may help children stay organized and understand expectations during lessons. Providing information through multiple formats often benefits all students, including those with hearing loss.
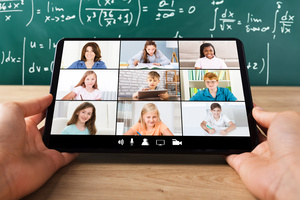
Educational Apps and Communication Tools
Technology has expanded learning opportunities beyond the classroom. Educational apps can reinforce reading, vocabulary, listening, and language development skills. Some programs include visual cues and interactive activities that support communication growth.
Video conferencing platforms also make it easier for children to connect with teachers, speech-language professionals, and educational support services when needed. These tools help create additional opportunities for learning and practice outside regular classroom hours.
Regular Equipment Maintenance Matters
Technology works best when devices function properly. Parents and school staff should routinely check batteries, microphones, chargers, and hearing devices for signs of wear or malfunction. Small issues may affect a child’s ability to hear classroom instruction clearly.
Professional support remains important as children grow and their hearing needs change. Audiologists often work closely with schools and families to evaluate device performance and recommend adjustments when necessary. Many clinics and educational programs also rely on audiology equipment suppliers to support hearing assessments, device programming, and ongoing care services.
Technology continues to create valuable opportunities for children with hearing loss. With the right combination of technology, professional guidance, and family support, many children with hearing loss can participate fully in learning experiences and build confidence both inside and outside the classroom. Check out the infographic below to learn more.
Open PDF