How to Host a Safe and Stress-Free Kids’ Birthday Party at Home
A child’s birthday can turn into chaos faster than most parents expect. Between sugar-fueled toddlers, slippery floors, and furniture that wasn’t built for crowd flow, the day often surprises even the most prepared host. Safety planning rarely makes it onto Pinterest boards, but it should sit near the top of any birthday checklist.
The good news? A few smart choices about layout, supervision, and equipment can turn a packed living room into a kid-friendly setting that parents actually find relaxing.
Start With a Realistic Guest Count
Before you order a single balloon, write down how many adults and children will actually attend. Underestimating leads to overcrowding, and overcrowding leads to accidents. The American Academy of Pediatrics identifies falls and collisions as among the most common causes of injury in young children. Furthermore, risks that multiply in a crowded space, especially during transitional moments like getting up from chairs, running through doorways, or reaching across tables.
A useful guideline: count one square meter of open floor space per child for active play. If your living room measures four by five meters, around 20 kids is the upper limit before activities feel cramped.
Once the headcount is settled, the next puzzle is where everyone will actually sit.
Plan Seating Around Age, Not Just Aesthetics
Adults can perch on anything, including the floor, but children need stable, age-appropriate seating. A 3-year-old on a bar stool is an emergency room visit waiting to happen. Group the seating by age zones so kids gather around tables built for their height.
Toddlers and Preschoolers (Ages 2-5)
Low plastic chairs and child-height tables work best. Avoid folding chairs with pinch points and skip anything with metal corners at face height.
Early Primary (Ages 6-9)
Standard children’s chairs or short benches work well. Make sure feet can touch the floor while seated to prevent tipping.
Older Children and Tweens (Ages 10+)
Full-size dining chairs are fine, though stackable resin chairs give better stability than vintage wooden ones that might wobble.
If your own collection of seating falls short, renting is usually cheaper than buying and storing chairs you’ll only use once a year. Many Singapore-based parents now turn to professional event chair rental services that deliver matched sets sized for kids, which removes the guesswork around safety ratings and stability.
With seating sorted, attention shifts to the surfaces where food, drinks, and craft activities will land.
Choose Tables That Match the Activity
Birthday parties usually involve at least three table-based activities: food service, craft stations, and the cake moment. Each one calls for a different table style.
| Activity | Recommended Table Height | Why It Matters |
| Craft station for under-7s | 50-55 cm | Kids can sit and reach materials without straining |
| Buffet for finger foods | 72-76 cm | Adults can serve without bending; out of toddler reach |
| Cake and gift display | 72-76 cm | Lifts breakables above small hands |
| Drinks station | 90-110 cm | Reduces spills near play areas |
| Outdoor activities | 60-65 cm | Stable on grass with wider legs |
The table above is a starting framework, not a strict rule. Adjust based on your venue and the ages involved. If most of your guests are under 5, weight the layout toward lower surfaces.
Surfaces alone don’t make a party safe, though. The walking paths between them matter just as much.
Map Out Traffic Flow Before Decorating
Stand in the doorway of your party space and ask: can a child run from the entrance to the bathroom without dodging cords, furniture corners, or other kids? If the answer is no, rearrange before guests arrive.
A few flow rules worth following:
- Keep at least 90 cm of clear path between seating clusters
- Place the food table away from the main door to prevent traffic jams
- Position the cake table in a corner, not the center, so the singing crowd doesn’t block exits
- Tape down any cords that cross walking areas
Once the room reads as open and predictable, the next safety layer involves food itself.
Handle Food and Allergies Like a Professional
Research from Food Allergy Research & Education (FARE) finds that roughly one in 13 children in the U.S. has a food allergy. At a party of 20 kids, that means at least one guest likely cannot eat what’s on the table.
A few weeks before the party, send a short note to parents asking about allergies, religious dietary needs, and any medications their child carries. Then label every dish at the party with a small card listing the main ingredients. Peanuts, tree nuts, eggs, milk, sesame, and shellfish cause most reactions, so call those out clearly.
Keep a designated safe table for kids with allergies, away from the main buffet, with food prepared on clean surfaces.
Even with the food handled, the final piece of a safe party is what happens when the activities heat up.
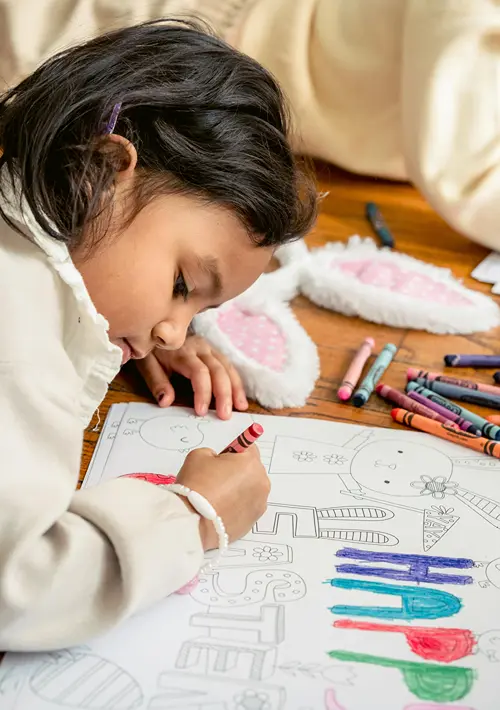
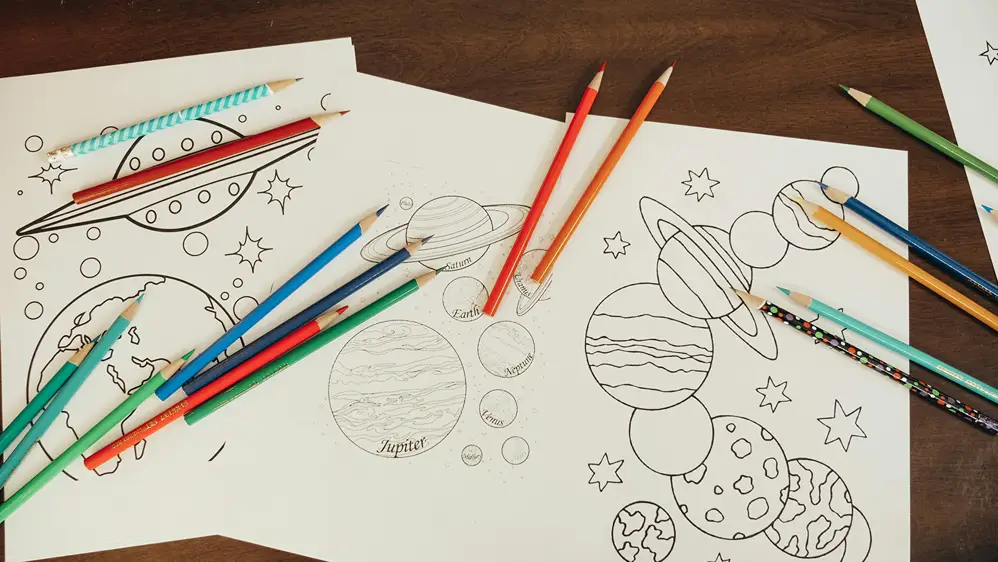
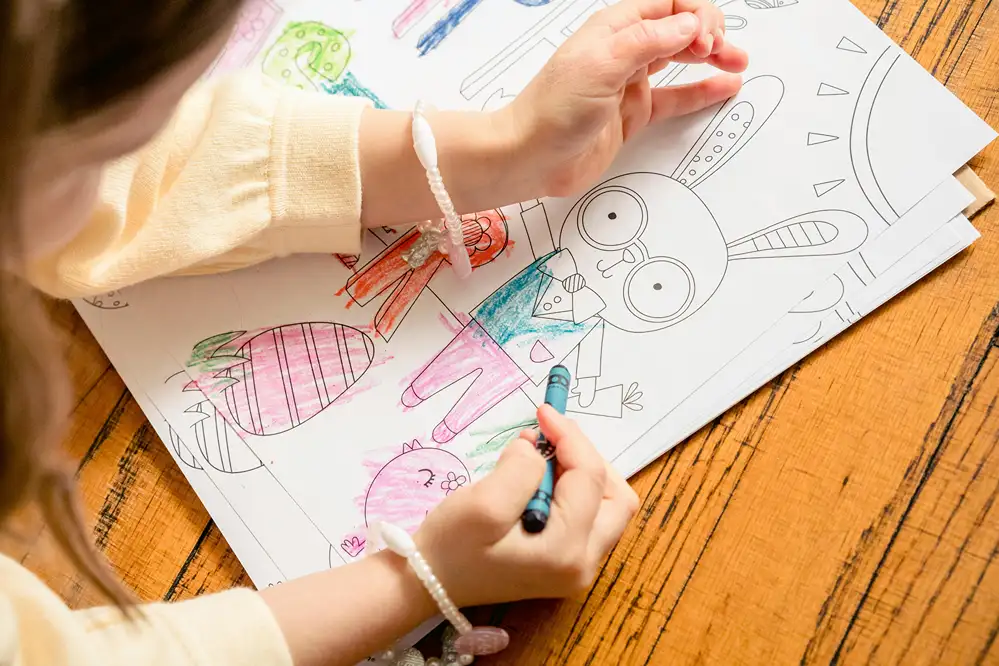
Build in Quiet Zones and Active Zones
Kids regulate themselves better when they can choose between high-energy and low-energy spaces. Set up a quiet corner with books, coloring sheets, or a small craft on a low table. Use the open floor for active games like musical chairs or a treasure hunt.
Rotate the energy level every 20 to 30 minutes. A typical 2-hour party works well in this rhythm:
- Arrival and free play (20 minutes)
- Structured game or activity (25 minutes)
- Food and drink (30 minutes)
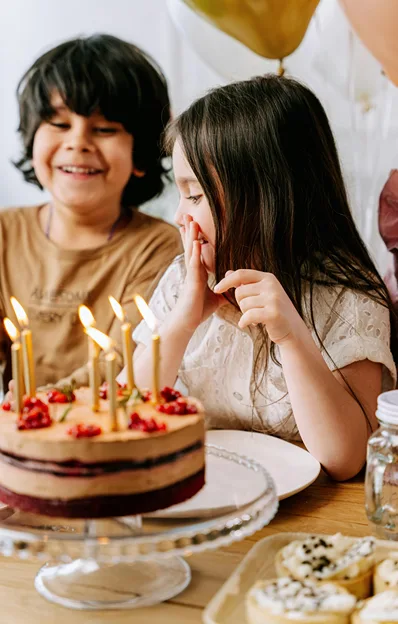
- Cake and singing (15 minutes)
- Wind-down craft or quiet activity (20 minutes)
- Goodbyes and party favors (10 minutes)
This pacing also gives parents predictable pickup windows, which most appreciate.
Wrap Up With a Safe Send-Off
The last 15 minutes of any kids’ party are statistically the riskiest. Tired children, distracted parents, and front doors that keep opening and closing create the perfect setting for someone to wander into the street or trip on the porch.
Station one adult at the door for the final stretch. Hand out party favors there, not at the seating tables, so each child leaves with a parent rather than running back for a forgotten bag.
A safe party is rarely the one that looked the best on social media. It’s the one where every child went home tired, fed, and in one piece, and where the host got to actually enjoy the candle-blowing instead of refereeing it.