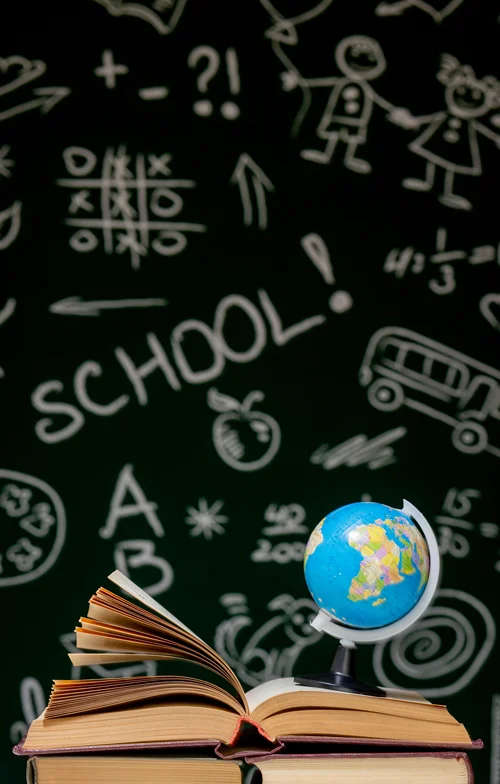
School Isn’t One-Size-Fits-All Anymore. Students Aren’t Either
There was a time when the traditional school model felt relatively straightforward. Students went to class at the same time every morning. They moved through the same curriculum at roughly the same pace. The structure was standardized because the expectation was standardized too.
But students themselves have changed. Or maybe people are finally paying attention to the fact that they were never all built the same to begin with.
Some students thrive in busy classrooms and rigid schedules. Others quietly fall apart inside them.
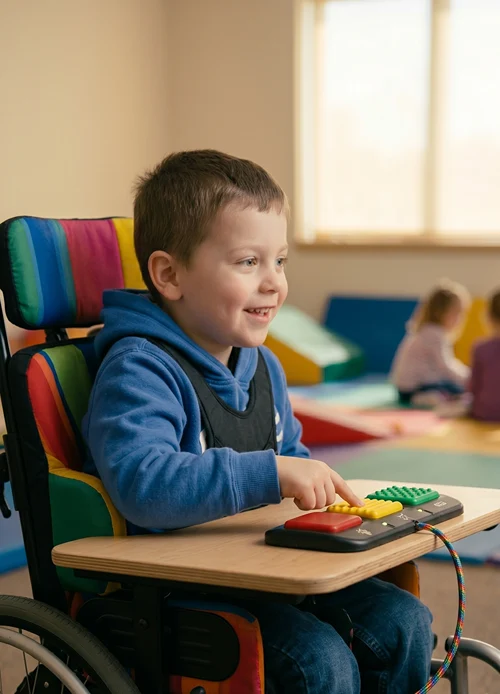
Some need flexibility because they are balancing athletics, arts training, work, or family responsibilities. Others simply learn better outside the pressure and distractions of a traditional school environment.
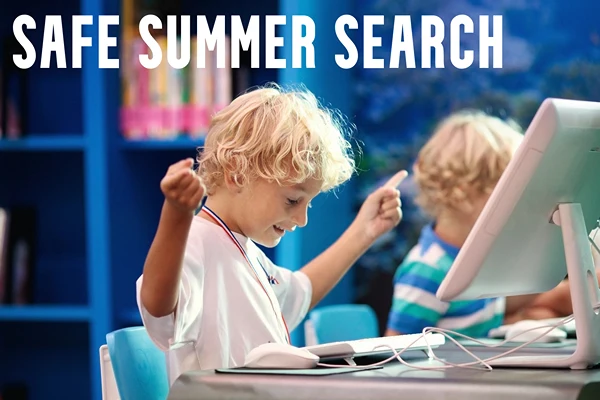
That growing shift in how families think about education is part of the reason more students are exploring alternatives such as Ontario Virtual School, where flexible online learning allows students to complete Ontario curriculum courses in ways that better align with their individual needs and goals.
Because increasingly, education is becoming less about forcing students into one system and more about recognizing that different students succeed differently.
The “Typical Student” Barely Exists Anymore
Today’s students are navigating a version of adolescence that looks very different from previous generations.
They are balancing academic pressure alongside:
- competitive extracurriculars
- part-time jobs
- university preparation
- social media fatigue
- mental health challenges
- family obligations
- increasingly packed schedules
Meanwhile, many are trying to figure out their futures before they have even fully figured out themselves.
The traditional school structure can support some students well. But for others, the pace and rigidity become overwhelming rather than productive.
A student who struggles in one environment is not automatically unmotivated or incapable.
Sometimes the environment itself is the problem.
Flexibility Has Become More Valuable Than Ever
One of the biggest reasons families explore online learning is flexibility.
Not because students want less education. Usually because they need an educational structure that reflects real life more realistically.
A competitive athlete traveling for tournaments may need adaptable scheduling. A student pursuing acting, dance, or music training may need more control over study hours. Others may want to accelerate courses, improve grades for post-secondary applications, or reduce stress from overloaded school days.
Flexibility allows students to build schedules around how they actually function best instead of forcing every learner into the same daily routine.
And surprisingly, many students become more academically engaged once they gain that autonomy.
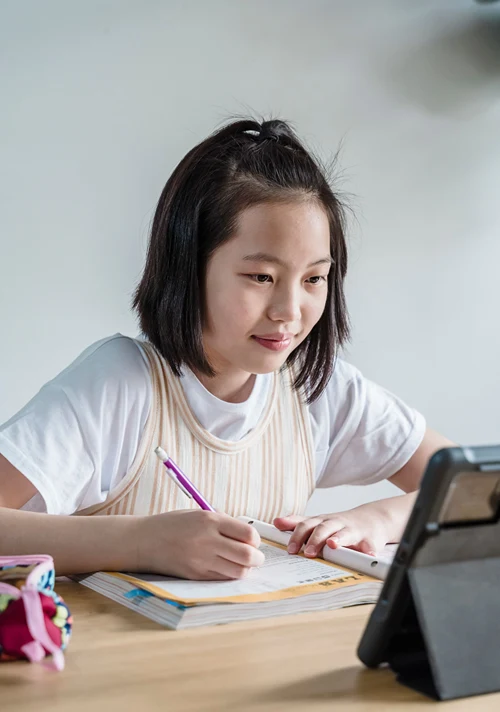
Online Learning Has Quietly Evolved
There is still a misconception floating around that online school is somehow less serious or less academically valuable than traditional learning.
That perception feels increasingly outdated.
Online education today is often used strategically by highly motivated students who want:
- self-paced learning
- course flexibility
- credit recovery
- accelerated learning opportunities
- quieter study environments
- additional support for university preparation
For many students, learning online is not a “backup option.”
It is simply a better fit.
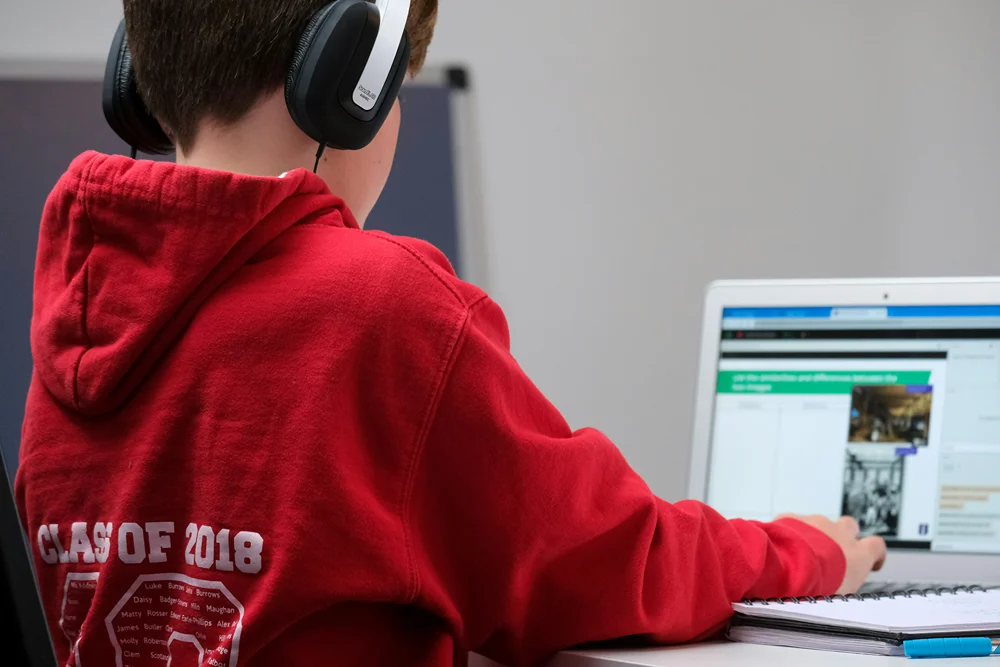
Ontario students can now access Ministry-inspected online courses, work toward Ontario Secondary School Diploma credits, and study from environments that reduce distractions while still maintaining academic expectations aligned with provincial standards.
The format has changed. The goals have not.
Different Students Need Different Learning Environments
Some students learn best by participating verbally in classrooms. Others absorb information more effectively independently.
Some perform well under fast-paced instruction. Others need more time to process concepts deeply before moving forward.
The problem with one-size-fits-all education models is not that they never work.
It is that they assume all students should function identically under the same conditions.
That assumption breaks down quickly in practice.
Self-paced learning environments can give students room to:
- revisit difficult material
- move faster through stronger subjects
- manage anxiety more effectively
- structure study time intentionally
- focus without classroom distractions
In many cases, confidence improves alongside academic performance simply because students feel less overwhelmed.
Parents Are Thinking About Education Differently Too
Families are asking more thoughtful questions now than they were even a decade ago.
Not just:
“Is my child getting good grades?”
But also:
- Are they overwhelmed?
- Are they engaged?
- Are they learning effectively?
- Do they feel supported?
- Is the current environment helping or hurting their confidence?
Those questions matter because academic success without wellbeing attached to it tends to collapse eventually.
Parents are becoming more open to educational pathways that prioritize both achievement and sustainability rather than treating exhaustion as proof of ambition. Frankly, that shift feels overdue.
The Future of Education Will Probably Look More Personalized
Traditional schools are not disappearing.
But the idea that there is only one “correct” way to complete an education is becoming increasingly difficult to defend.
Modern students live differently, communicate differently, and process information differently than previous generations. Education is gradually adapting to reflect that reality.
Personalized pacing, flexible schedules, online learning, and customized academic pathways are becoming part of a larger shift toward educational choice rather than educational uniformity.
Because students are not identical.
And expecting them all to thrive inside the exact same structure was never especially realistic in the first place.