Signs Your Child May Be Experiencing Stress
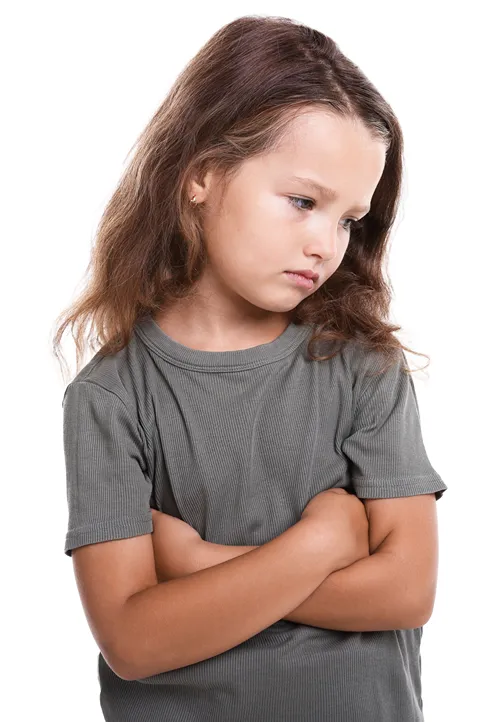
Kids experience stress just like adults do, but they don’t always know how to express what they’re feeling. School assignments, friendships, and everyday challenges can sometimes leave children feeling overwhelmed. Here are tips for recognizing when changes in mood or daily habits may signal a child is experiencing stress.
Increased Irritability or Mood Swings
Stress doesn’t always look like worry. Some children become unusually impatient or sensitive to criticism, even when they’re typically easygoing. Minor disappointments might suddenly trigger emotional outbursts that seem out of character.
If you notice these changes, consider what’s happening around your child. Perhaps they’re struggling with friendships or adjusting to a new routine. Identifying patterns can offer clues about what’s contributing to their frustration.
Changes in Sleep Patterns
Stress can disrupt even the most consistent bedtime routines. Your child might struggle to fall asleep because they’re thinking about tomorrow’s activities or worrying about something that happened earlier. Others may wake frequently during the night or experience nightmares.
An occasional restless night usually isn’t cause for concern. However, ongoing sleep difficulties can affect your child’s energy, mood, and ability to concentrate. Watch for whether their sleep problems coincide with stressful events or changes at school.
Creating a Calmer Bedtime Routine
A predictable evening routine can help children unwind after a stressful day. Try setting aside time for quiet activities, such as reading together, and limit screen use before bed. If your child tends to worry at night, encourage them to share their concerns earlier in the evening rather than waiting until bedtime. A consistent sleep schedule can also help them settle down and get adequate rest.
Unexplained Physical Complaints
Children don’t always have the words to describe emotional stress. Instead, their worries may show up as physical discomfort, especially before challenging situations. These complaints can be genuine even without an obvious physical cause.
Common symptoms include:
- frequent headaches
- recurring stomachaches
- changes in appetite
- muscle tension
Pay attention to when your child complains about feeling unwell. For example, stomachaches that occur frequently before school but improve on weekends may suggest school-related stress. If symptoms persist or recur, consult a pediatrician to rule out medical causes.
Difficulty Concentrating at School
Stress can make it difficult for children to focus on lessons and complete assignments. You might notice that they take longer to complete their homework. Teachers may also report that your child seems distracted or less engaged in classroom discussions.
Rather than assuming they’re losing interest in school, consider whether something else is occupying their thoughts. Emotional concerns can interfere with learning, even when children want to succeed. Talking with their teacher may provide valuable insight into recent changes.
When School Pressure Becomes Overwhelming
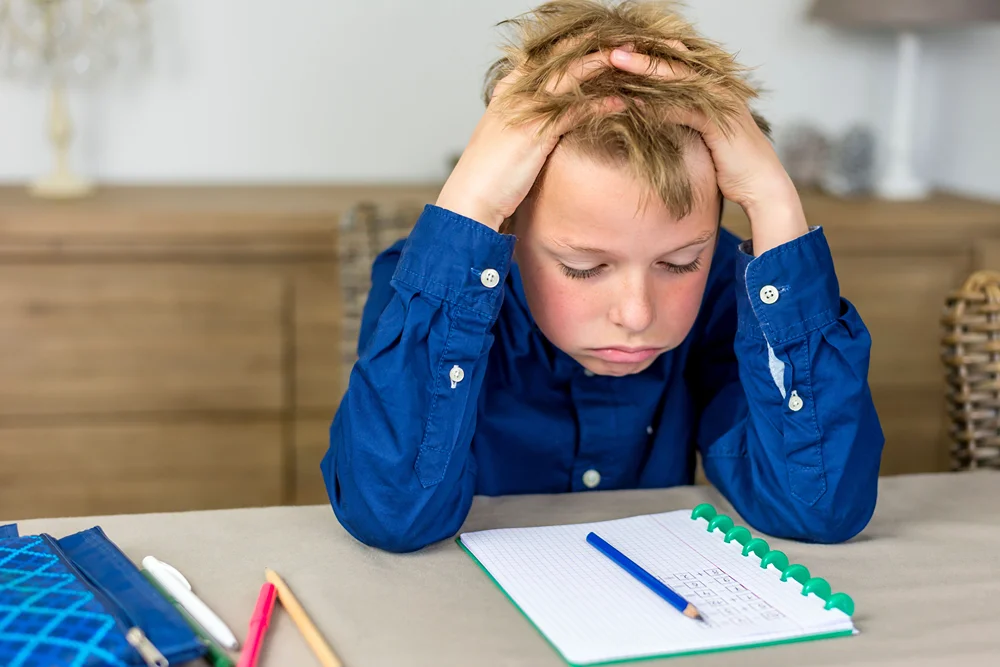
Academic expectations can become stressful when kids feel they must perform perfectly. Upcoming tests or difficult subjects may leave them feeling unprepared. Social challenges at school can make these pressures even harder to manage. Ask your child which parts of the school day feel most difficult. Once you understand what’s troubling them, work together to find practical ways to reduce that pressure. For example, you could break assignments into smaller tasks or speak with their teacher.
Repetitive Self-Soothing Behaviors
Some children turn to familiar habits when they’re feeling overwhelmed. For example, thumb sucking or nail biting may provide comfort during uncomfortable moments. An increase in self-soothing behaviors may signal that your child is experiencing stress.
Instead of focusing solely on the habit, notice when it occurs. Does your child do it more often before school or in unfamiliar situations? These patterns can reveal whether stress contributes to the behavior.
Understanding Why Habits Develop
Repetitive behaviors can also occur when children feel bored or tired. Over time, certain actions may become automatic rather than deliberate responses to stress. Parents can explore ways to help kids replace stressful behaviors with more constructive coping strategies. Identifying the circumstances behind these habits makes it easier to respond patiently.
Withdrawal From Friends and Activities
A child experiencing stress may lose interest in activities they once enjoyed. Perhaps they stop asking to visit friends or suddenly resist attending an extracurricular program. They might also prefer spending more time alone after school.
These changes can be confusing, especially when your child doesn’t explain what’s wrong. Rather than pressuring them to participate, ask gentle questions about their experiences. Their answers may reveal worries about social relationships or other challenges.
Distinguishing Stress From Normal Preferences
Children naturally develop new interests and occasionally need time alone. A preference for quieter activities doesn’t automatically indicate a problem. However, sudden withdrawal from several favorite activities may suggest something is bothering them.
How Parents Can Offer Support
When children show signs of stress, supportive conversations can make a meaningful difference. Instead of immediately trying to solve every problem, give your child opportunities to express their feelings. Kids aren’t always comfortable discussing their worries directly. Sometimes, talking while taking a walk, preparing dinner, or driving home from school feels less intimidating.
Consider these strategies to support your child:
- Ask open-ended questions about their day.
- Maintain predictable mealtimes and bedtimes.
- Encourage enjoyable physical or creative activities.
- Communicate with teachers about school-related concerns.
Parents can also help children manage difficult emotions by teaching them how to recognize and express what they’re feeling. Encourage your child to name specific emotions, such as frustration or nervousness, rather than simply saying they feel bad. You can also practice calming techniques together, such as taking slow breaths or stepping away from a stressful situation for a few minutes.
When To Seek Professional Help
Some stress reactions improve with reassurance and home adjustments. However, persistent symptoms may require additional support. If your child’s behavior worsens or begins interfering with daily activities, consult their pediatrician. A qualified professional can assess their needs and recommend appropriate next steps.
Every child responds to challenges differently, so recognizing stress requires patience and observation. Rather than treating an isolated behavior as a warning sign, consider how your child’s habits and emotions change over time. Communicate clearly and respond with understanding instead of frustration. With steady reassurance and appropriate support, children can develop greater confidence in handling life’s challenges.